English
  Italiano
  Français
  Español
  Português
 IsoCoppo FV
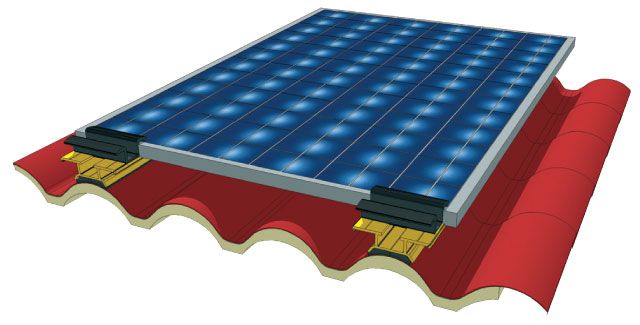
It is the bracket for quickly and safely installing photovoltaic modules of any kind on any product in the Coppo-IsoCoppo range.
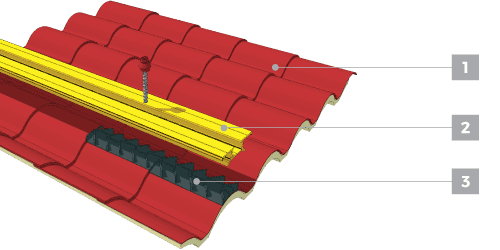
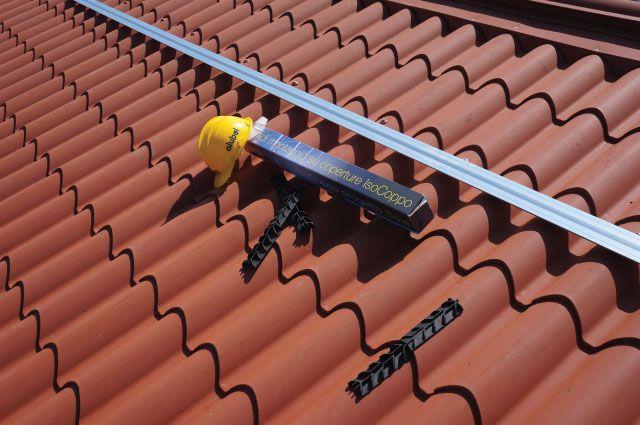
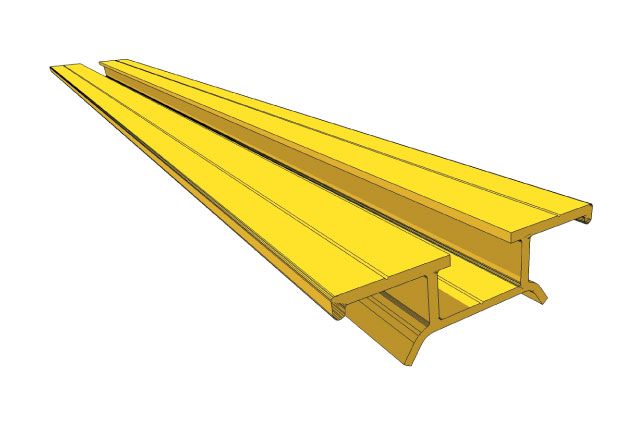
System components
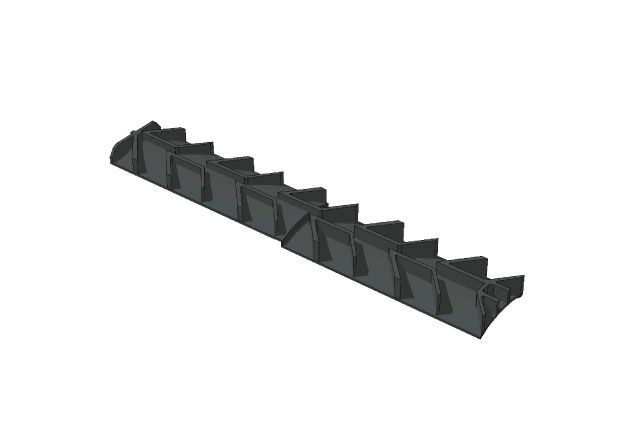
ADVANTAGES
- Useful space for cables passage;
- Surface for ventilation “under module”;
- Functional separation between roofing and photovoltaic system;
- Possibility of installation not contextual to roofing pose;
- Quick installation;
- Solution adaptable to any photovoltaic installation.
Assembly instructions
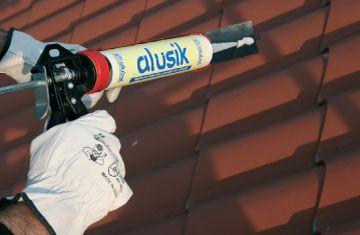
First phase
Spread a layer of Alusik silicone under the IsoCoppo FV bracket.
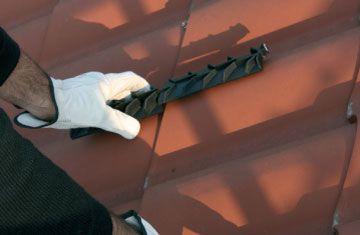
Second phase
Install, joining it to the IsoCoppo sheet, making sure it is in the right position.
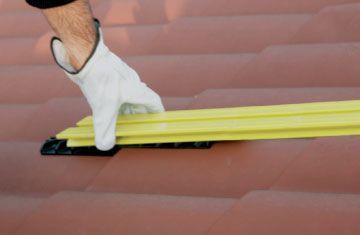
Third phase
Position the Alubel First profile (it must be of an adequate length).

Fourth phase
Secure everything with suitable fixings, anchoring to the underlying framework.
Our solution